If you should choose to re-do your kitchen, that is the process we followed, and it seemed to work well. A more detailed process is below the before and after pictures.
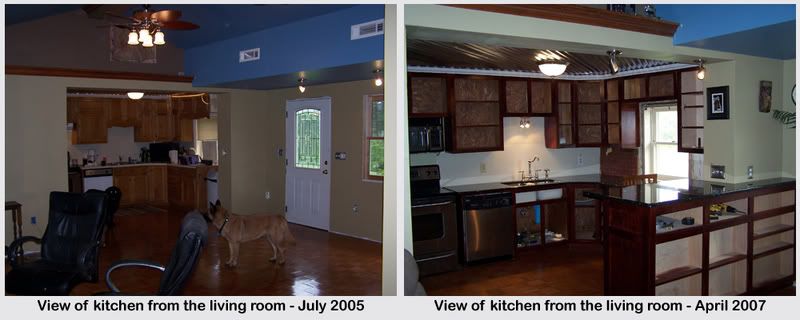
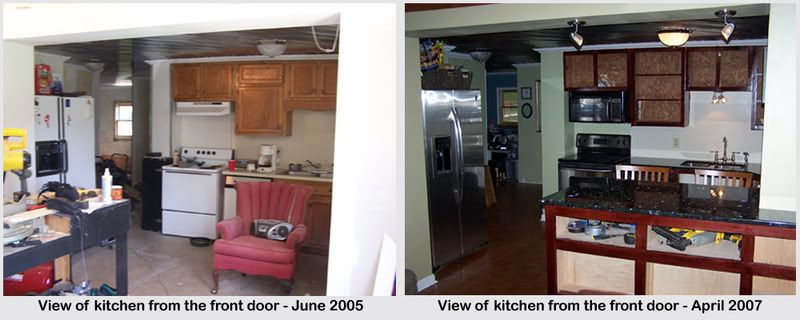
View from living room. (Click for a larger picture.)

From the front door. (Click for a larger picture.)

In this before, don't miss the arm chair/boom box holder, concrete board floor, 1990's era appliances, alarm clock on the counter, phone on chop saw table, batchelor-esque quality to the house. Not that I'm prissy, but there have been some upgrades.
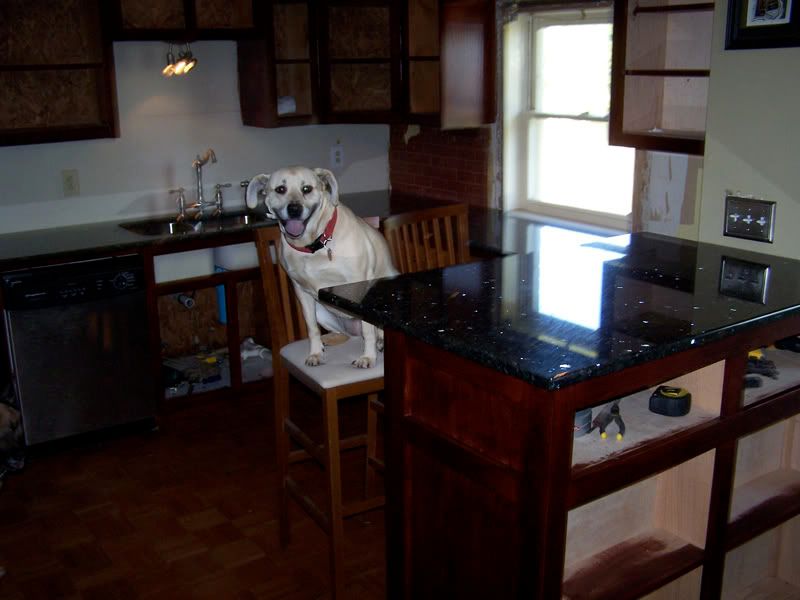
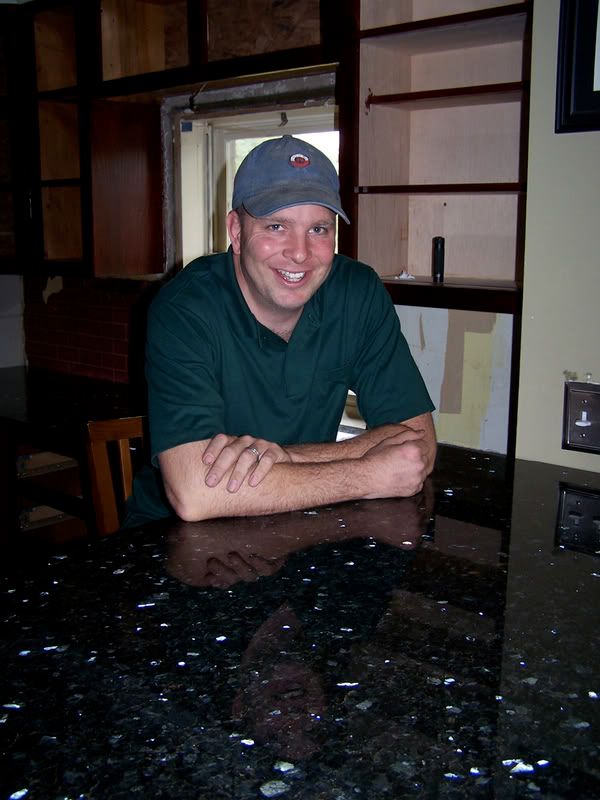
Happy Granite David!
Here is a brief renovation recap, as seen above:
Summer 2005-Renovate entire living area of house including the kitchen, including flooring instaltion
Spring 2006-Build peninsula island
Winter 2007-Get tax refund to pay for (most of) granite
Spring 2007-Strip and restain cabinet faces:
4/1-3/2007: Empty kitchen cabinets
4/4/2007: Sand with 60 grit sandpaper
4/5-6/2007: Sand with 180-220 grit sandpaper, test for stain color
4/7/2007: Remove part of block wall and prep for over-the-range microwave installation
4/8/2007: Happy Easter!
4/9/2007: Stain with
Minwax Polyshades (mix of Bombay Mahogony and Anique Walnut, 1:1)
4/10/2007: Sand with ooo steel wool and apply a second coat of
Minwax Polyshades (mix of Bombay Mahogony and Anique Walnut, 1:1)
4/11/2007: Have
emerald pearl granite enstalled by Steel City Stone (no website, but a wonderful company)
4/11/2007 (later): Have beer (beer, beer) with friends at the Villa Fiesta and miss the new countertops.
4/11/2007 (even later): Return home to gaze upon granite again.
Spring and Summer 2007-Build new cabinet doors
I'll post more projects as they arise.

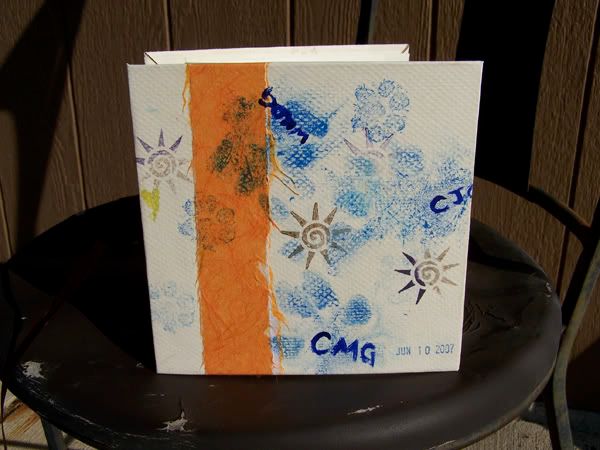
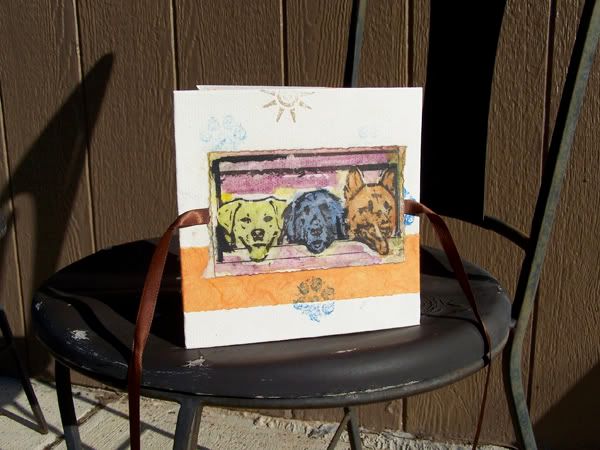 That is the front cover of this:
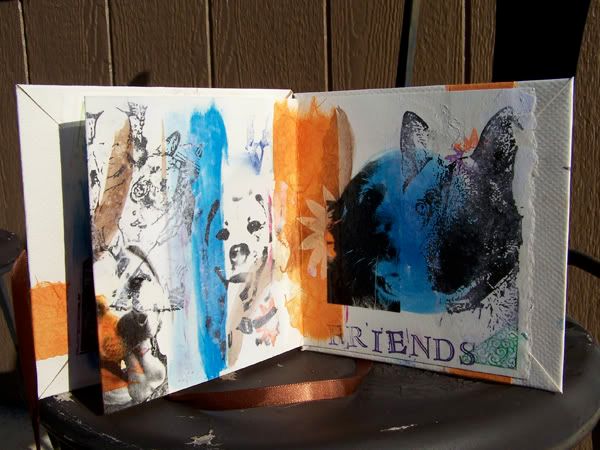
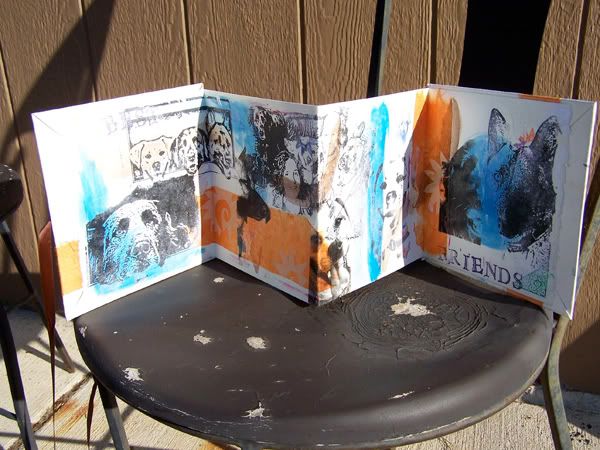 My friend Jennifer taught us two wonderful techniques for image transfer. One involves gel medium which I used for most of the images. The other technique involves packing tape, which I used for the other images.
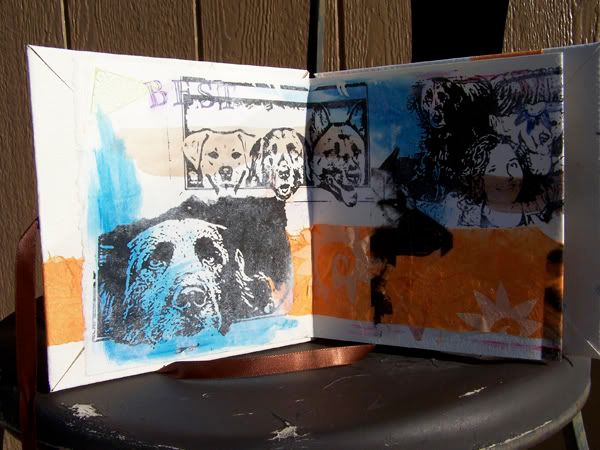
 Hope y'all enjoy.

